Create your First Configurator Product
After you create or import a product for the first time, a step-by-step guide will appear. Simply follow the guide to explore how the app works in detail.
Create a Group Layer
Start by creating a group layer, which will serve as the primary category for your product options.
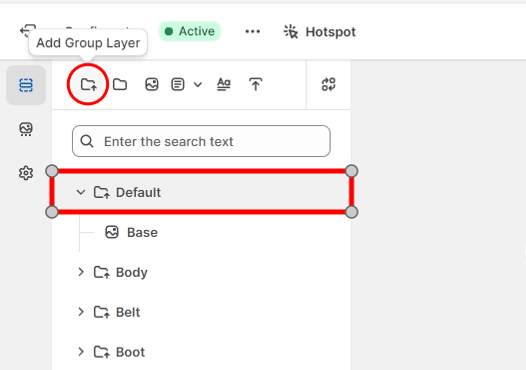
Add Image Layers
Inside the group layer, create individual image layers for each option or variation of the product.
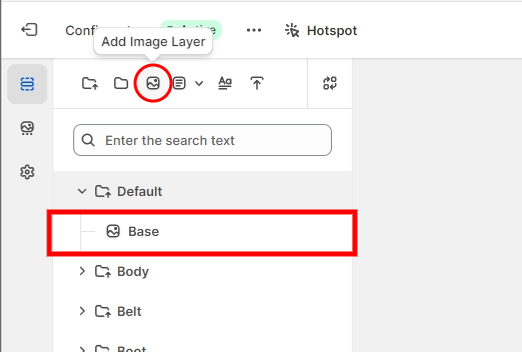
Add Layer Images
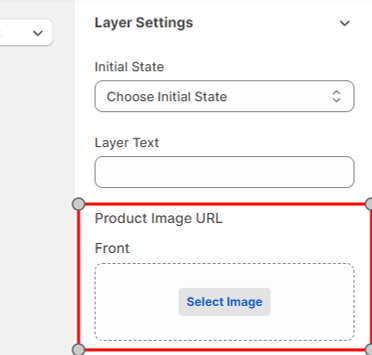
For each image layer, upload a transparent layer image that will stack with other layers to form the final product image.
Set Layer Prices
In the price settings section, you can assign both a regular price and a sale price to each layer, including image, text, and form layers. If a sale price is set, it will replace the regular price for that layer. The final product price will be calculated based on the selected layers and their respective prices.

Repeat as Needed
Follow the same steps to create additional image layers, adding as many options as required for your product.
Choose Active Image Layers
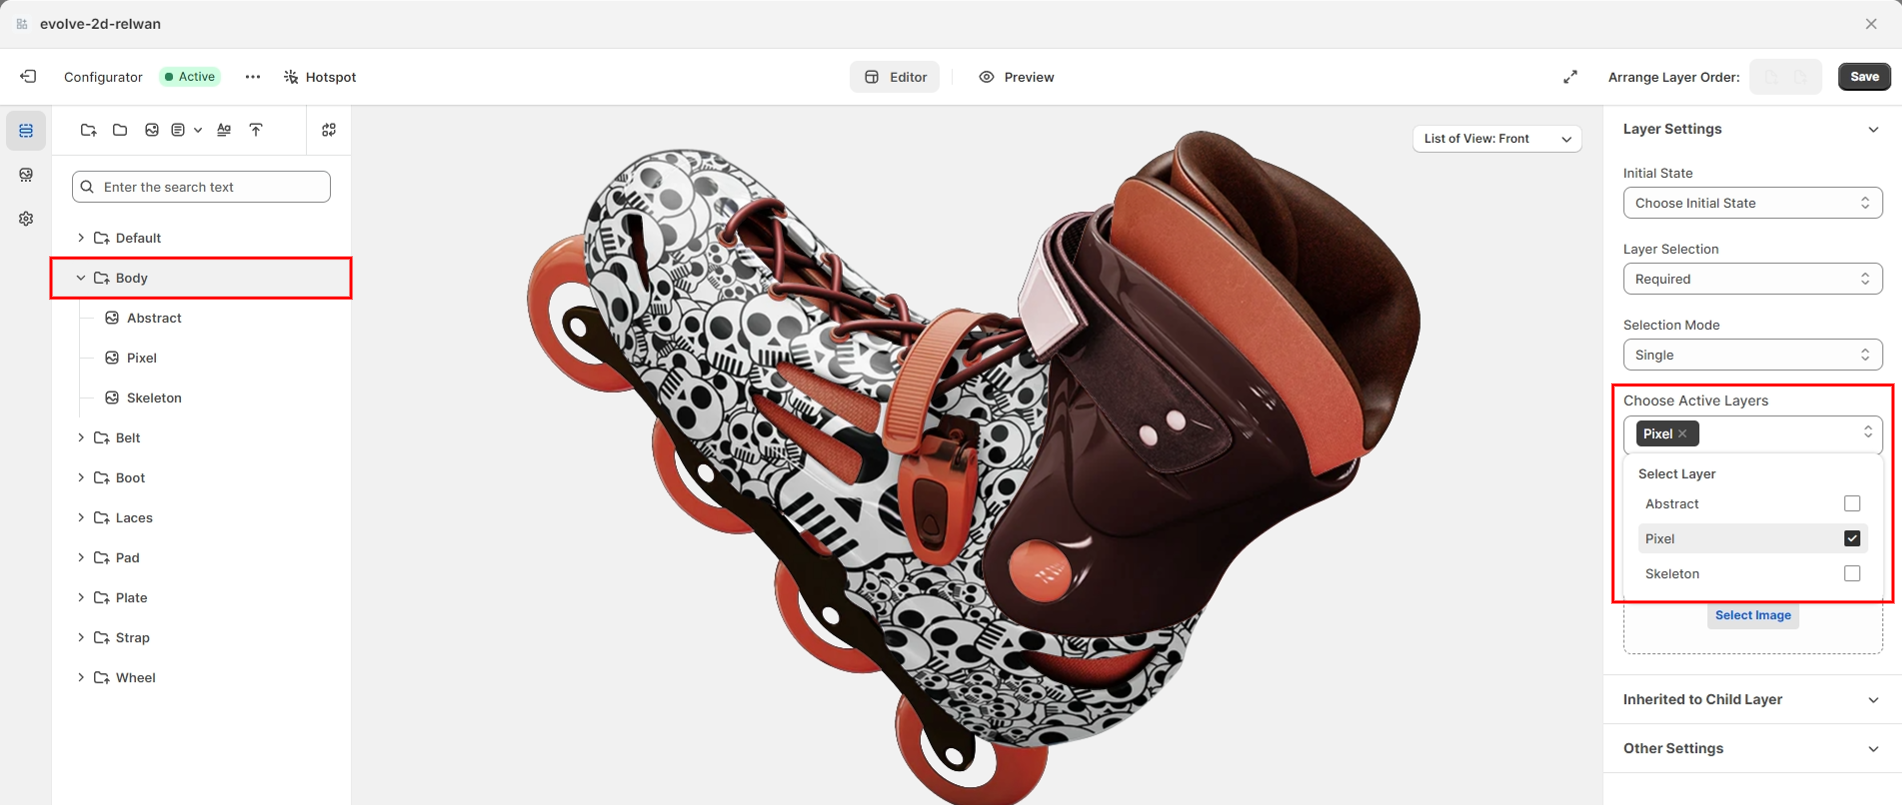
Select the image layers in the Choose Active Layers dropdown menu that should be active by default within the group/sub group layer. These will be the layers that automatically load when the product is viewed.
Assign the Group as Mandatory
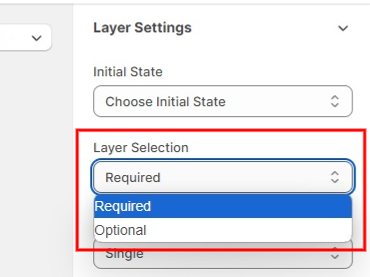
Select the Required in the Layer Selection dropdown. Set the group layer as mandatory to ensure that at least one option is always selected by the customer.
Allow Multiple Selections
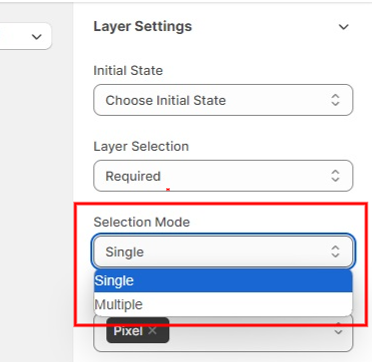
Select the Multiple in the Selection Mode dropdown to allow customers to select more than one image layer within the same group. It provides enhanced customization.
Add Additional Views
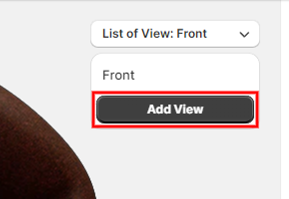
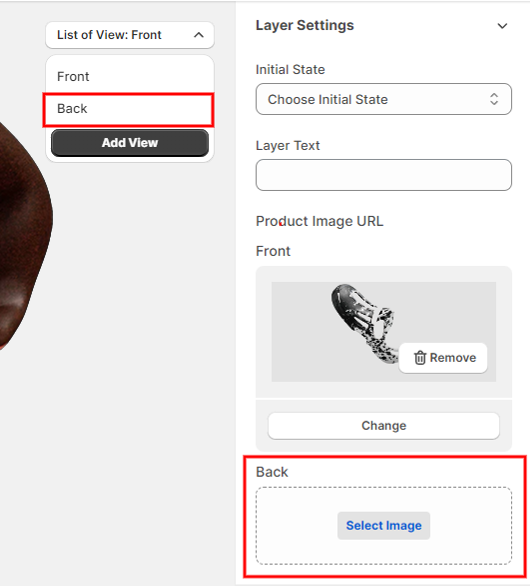
To present the product from various angles (such as front, back, and side), navigate to the List of Views section in the canvas area. Click the Add button and enter a name for the new view to create additional perspectives.
Assign Images for New Views
For each new view, add the corresponding layer images to the image layers, ensuring that each view is accurately represented.
Set Layer Stack Order
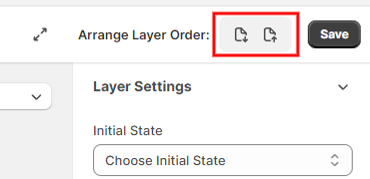
To adjust the front-to-back placement of images, go to the Canvas Layers section. Here, you will see a list of all layers with images. Drag and drop the layers to reorder them as needed, ensuring the correct visual hierarchy for your product.
